Add seller
To add a seller, follow these steps:
- Click
 , the following window appears:
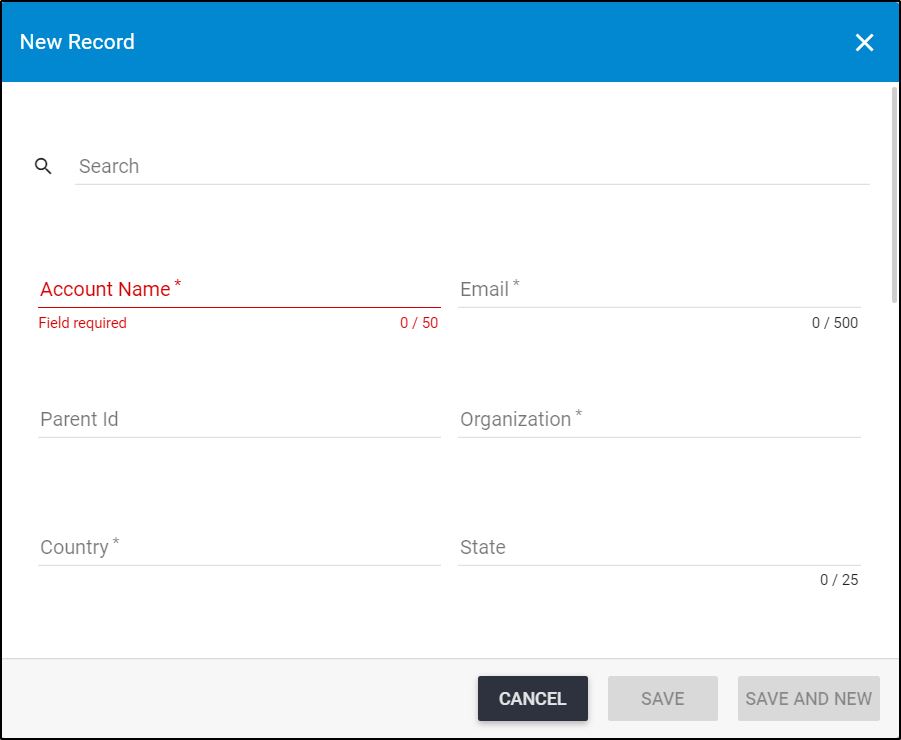
The Search field helps you retrieve any of the fields or menus that are on the window so you can easily fill them. Once you start typing, fields matching the entered characters are returned.
- Enter the account name,
- Enter the email,
- Select the parent Id, if you want to create a sub-seller,
- Select the Organization to which the seller is assigned,
- Select the country then the city,
- Enter the state and zip code, if you want,
- Enter the address,
- Enter the domain and website,
- Select the consolidation plugin if you want to assign one or more to the seller,
- Select the order processing queue, if you want,
- Click the slider next to Enable order type. Order types are defined at the seller level and if this slider is on, a dropdown menu appears when approving orders,
- Click the slider next to Enable confirm order, if you want to allow users to confirm orders after approving them,
- Click the slider next to Allow seasonless article attributes if you want to add article attributes that have the same value across seasons so users do not have to copy the values from one season to another,
- Click the slider next to Allow seasonless model attributes, if you want to add model attributes that have the same value across seasons. This option is only available for master sellers. If this slider is activated, another tab appears in the seller details to manage seasonal model attributes,
- Click the slider next to Automatic article numbering, if you want the system to automatically generate article numbers, this option is only avaible for master sellers,
- Click the slider next to Is size scale by style, if you want to define size scales at the model level, this flag is non editable. If this slider is On, you cannot set sizes for single or bulk articles and size scale should be set at the time of article or model creation or import,
- Click Save to add the seller and close the window, or Save and New to add it and open a new window. The seller account is added to the list.
Note:
- If the Automatic article numbering slider is turned on, the article number field is optional when adding and importing articles, while if the slider is off, then you need to provide the article number.