Installing T1 Studio application on Mac is a straight-forward set of steps that will not take a long time. To install the application, follow these steps:
- Start the installation wizard, the following window appears:
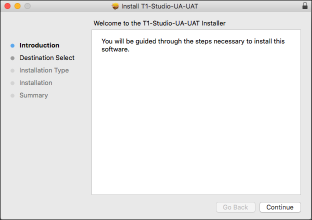
- Click Continue, the following window appears:
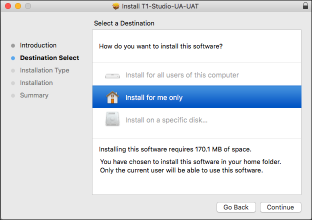
- Select “Install for me only” then click Continue, the following window appears:
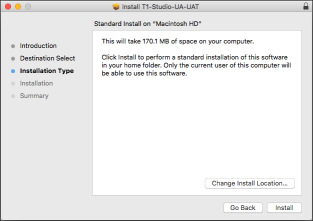
- Click Change Install Location if you want to install T1 Studio in another location or click Install to proceed, the following window appears:
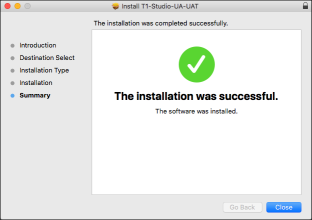
This window informs you that the installation is done successfully. Click Close.