Fill order
To add orderlines to an order, follow these steps:
- Select the order you want, then click Fill order, the following window appears:
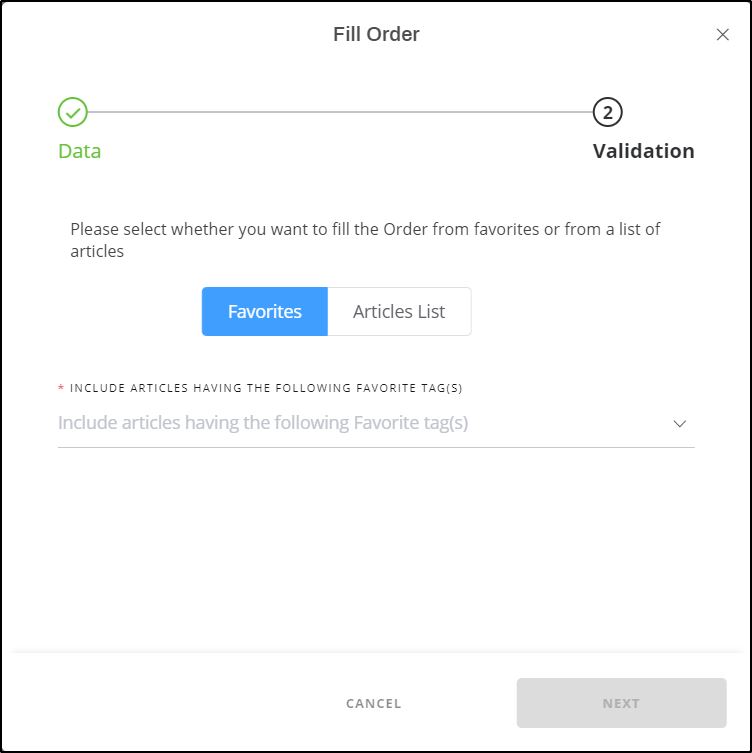
- Select the favorite tags you want their articles to be added to the order, or click Articles List if you want to paste the article numbers as shown below:
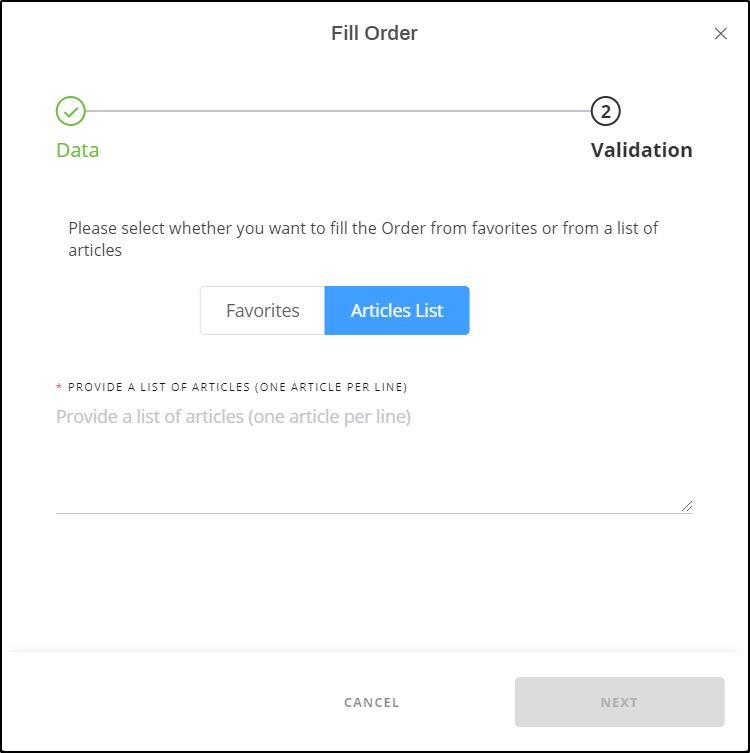
- Paste the list of article numbers, if any of them are invalid or unavailable, a message appears on the window informing you that no orderlines will be created.
- Click Save, the orderline(s) are added to your order as shown below:
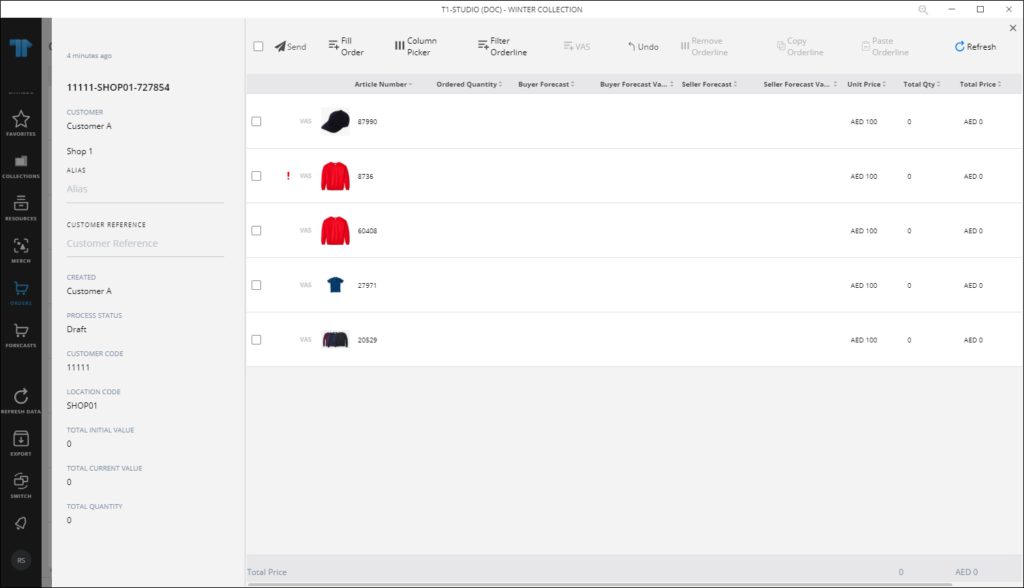
Every delivery date has a separate column as shown above.
- Click the delivery date you want next to the article, the following window appears:

The window shows the sizes of the selected orderline. If the catalog is configured to allow users to select the customer required date, the window appears as shown in the above example.
Depending on the configuration, the customer required date is related to the delivery date of the article (e.g. greater than, less than, etc.) and the entered date is the new delivery date for the orderline. This field is mandatory.
Notes:
- If the delivery date is inactive or not available, or sizes are not assigned to the article, quantities cannot be entered and a tooltip appears to inform you as shown in the below example:

Depending on the configuration, the customer required date is related to the delivery date of the article (e.g. greater than, less than, etc.) and the entered date is the new delivery date for the orderline. This field is mandatory.
- If delivery dates are shifted in T1, the new delivery dates are reflected on orders containing the orderlines even if orders are in draft state.
- If the catalog is configured to validate the ordered quantities against the MoQ (Minimum Order Quantity), a tip appears informing you of the minimum order quantity and order cannot be saved unless the quantity is equal to or greater than the MoQ specified for the article.
- If the article does not have any sizes, a tooltip appears next to the article and quantities cannot be entered.
- If the orderline quantities are configured to be multiples of a specific number, a message appears informing you so.
- Enter the quantity you want to order of each size, you can move between sizes by pressing the Tab key. If the delivery date is not assigned to the article these fields will be deactivated and quantities cannot be entered,
- Click Apply, the quantity and total price are updated,
- Repeat the above steps to add more orderlines and add their quantities.
- Click Save to save the changes done to the order and the order is synchronized with T1.
The order status is still “Draft”. You can send it to T1 as mentioned next.
Note:
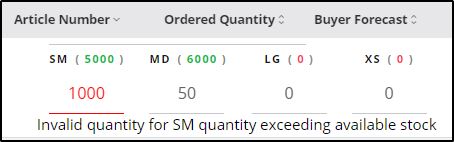
- If stocks are defined for the selected catalog, the stock amount is displayed next to the size and if the quantity exceeds the available stock, a message appears informing you so as shown in the below example: