Manage text
You can add textboxes to your slides and manage their appearance such as text color, background color, font style, and size, etc.
Add text
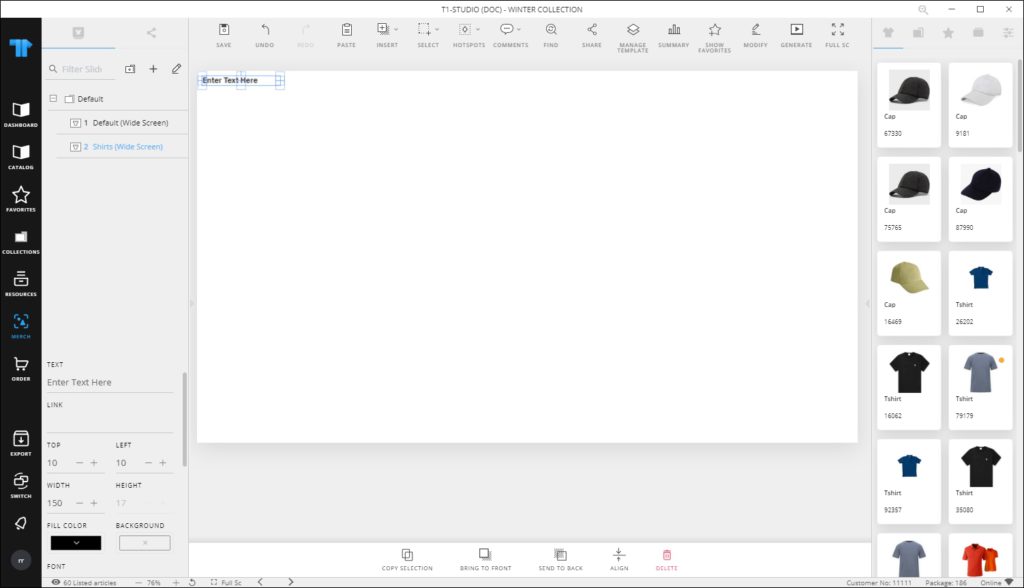
To add a textbox to the slide, select Add Text from the Insert menu, a textbox is added to the board as shown in the below example:
Double click the textbox to enter the text you want.
Paste text
You can paste text copied from your clipboard to the slide and a textbox will be created for it.
Textbox object properties
Click the textbox you want to manage its properties, the object properties are displayed in the Object Properties section as shown below:

You can enter the text you want in the “Text” field. To move the box, click it and drag to the desired location or change the values displayed in the “Top” and “Left” fields using the (–) and (+) signs. These values represent the distance of the object from the top left corner of the window. You can also resize the box by dragging any of its corners.
To change the fill color or the background color, click the respective button, the color picker appears as shown below:
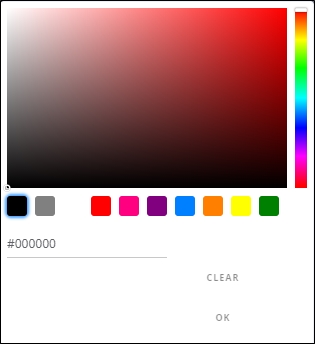
Select the color you want then click Ok.
To change the font type, font style, weight and alignment, click the respective dropdown menu and select the option that you prefer.
You can also change the font size using the (–) and (+) signs. To lock the object and prevent changing its location manually, click the slider button next to Locked.
Notes:
- You can modify the textbox properties on multiple slides by following the steps mentioned in “Modify Objects“.
- Fonts that appear in the dropdown list can be configured to include custom fonts. However, these fonts should be installed on your machine.