Manage slides
Slides are added to folders then objects such as articles, shapes, and textboxes are added to those slides. As mentioned before, by default the board contains one slide only and you can rename it, delete it, or add other slides. You can also drag and drop slides to change their sequence or folders.
Add slide to folder
To add a slide to a folder, follow these steps:
- Click +, the following window appears:
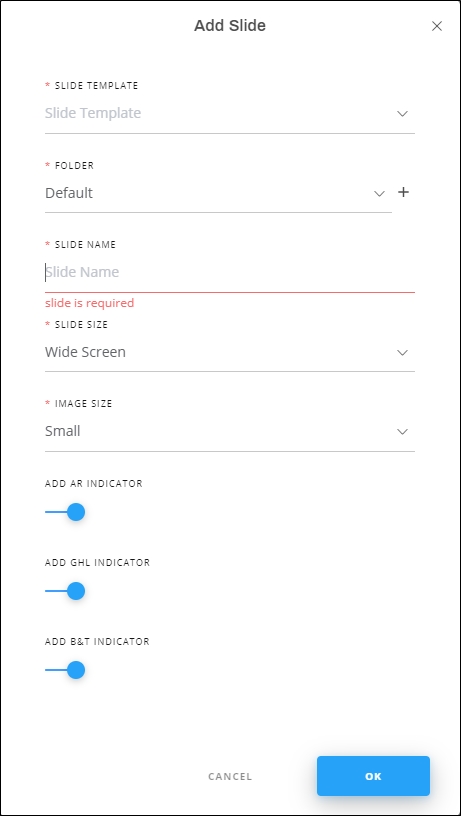
- Select the slide template, templates are configured at the catalog level,
- Select the folder or subfolder to which you want to add the slide, or click + and add a new folder to which the slide is to be added,
- Enter the slide name,
- Select the slide size, the selected size appears next to the slide name,
- Select the size in which you want to add images to the slide,
- Select the indicators you want to include in the slides by turning on the slider buttons,
- Click Ok. The slide is added to the folder as shown in the below example:
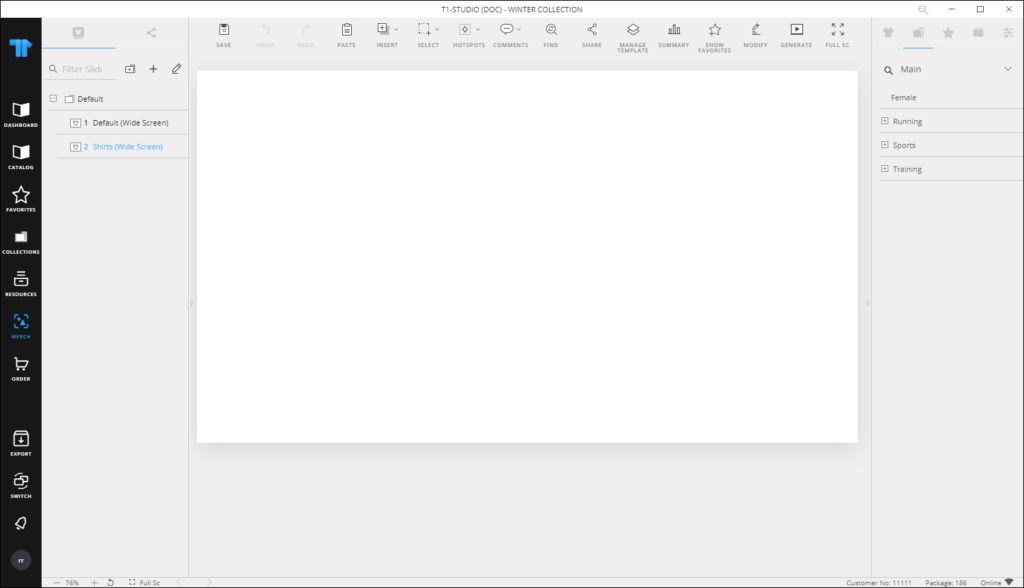
The slide is added to the selected folder and you can add more slides by repeating the steps mentioned above. Slides are automatically numbered inside the folder and if the slide is moved within the folder or to another folder, numbers are updated automatically.
Edit slide properties
The slide properties window enables you to view the slide information, such as the creation date and update date, and the users with whom the slide is shared. It also enables you to edit the slide properties.
To edit a slide, follow these steps:
- Hover the mouse over the slide then click
 , the following window appears:
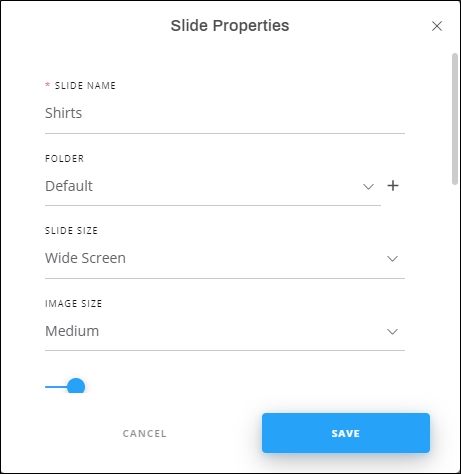
- Edit the slide name, if you want,
- Select the folder if you want to move the slide, or click + and add a new folder to which the slide is added,
- Select the slide size and image size, each from its dropdown menu,
- Select the background color, if you want, then click Save.
You can also right-click the slide you want, then select Edit Slide.
Duplicate slide
To duplicate a slide, follow these steps:
- Hover the mouse over the slide then click
 , the following window appears:
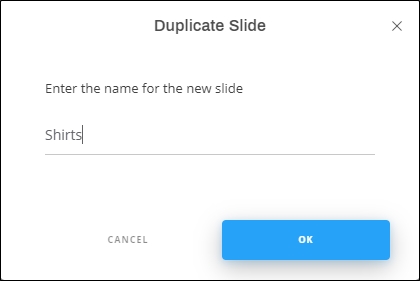
- Enter the name you want then click Ok. The slide is added right under the one you duplicated.
You can also right-click the slide you want, then click Duplicate Slide from the menu.
Download slide images
You can download the images of selected slides which improves the time needed to open the slide. To do so, follow these steps:
- Click next to the “Filter Slide” field, checkboxes are displayed next to folders and slides, select the slides you want, or select the folder to auto-select all its slides,
- Click
 , progress is displayed and images are loaded.
Duplicate multiple slides
You can duplicate multiple slides using the Edit Mode button. To do so, follow these steps:
- Click next to the “Filter Slide” field, checkboxes are displayed next to folders and slides,
- Select the slides you want, then click , the following window appears:
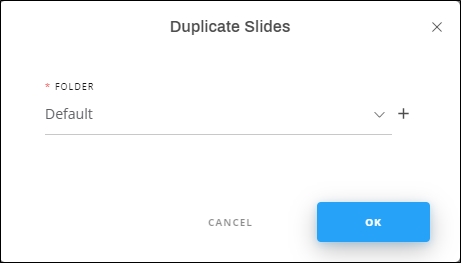
- Select the folder or create a new folder by clicking +,
- Click Ok, folders are added to the selected folder.
Export and import slides
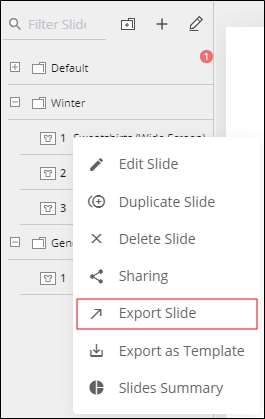
You can export merch slides into a Json format file and import that file again. Right click the slide you want to export, the following menu appears:
You can then right click the folder you want then select “Import Slides“. The slide is added to the folder.
Delete slide
To delete a slide, follow these steps:
- Hover the mouse over the slide then click
 or select the slide then click Delete Slide, the following message appears:
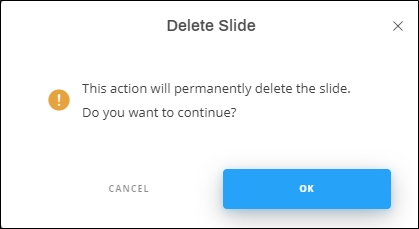
- Click Ok to confirm deletion.
You can also right-click the slide you want, then click Delete Slide from the menu. Deleted slides are removed from T1 as well.
The coming sections discuss how to add objects to slides.
Export as template
You can export the slide as a template in JSON format to be imported into T1 Studio. To do so, right-click the slide you want then select Export as template, a window appears to allow you to select the location in which the JSON file is saved.
If the slide contain articles, the following message appears:
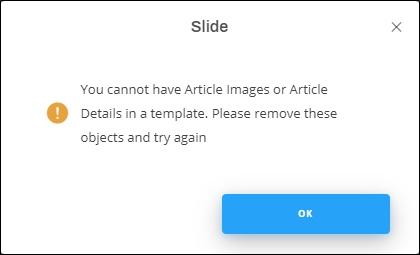
Click Ok and remove the articles.
Link articles
You can link articles to a specific slide. Any update on those articles is reflected to the slide. To do so, right-clicks any of the slides then select Link articles, the following window appears:
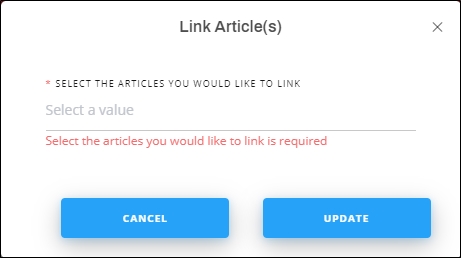
Select the article(s) you want then click Update. When the article details is viewed, the linked slides are displayed under the Linked slides tab.