Manage images
You can browse for an image on your computer and add it to the slide.
Add image
To add an image to your slide, select Add Image from the Insert menu, a window appears to help you browse for the image you want to add. Select the image, it is added to your slide.
Paste image
You can paste an image copied from your clipboard to the slide and the image object will be created for it.
Image object properties
Click the image you want, its properties are displayed in the Object Properties section as shown below:
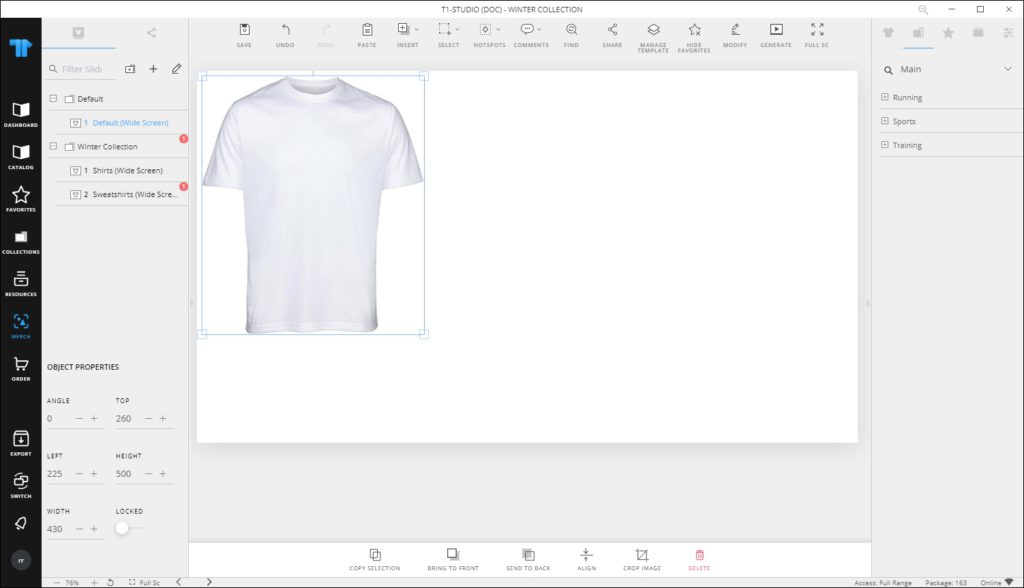
You can rotate the image by changing the angle using the (–) and (+) signs. You can resize the image by dragging any of its corners. To move the image, click it and drag to the desired location or change the values displayed in the “Top” and “Left” fields using the (–) and (+) signs. These values represent the distance of the object from the top left corner of the window.
To lock the object and prevent changing its location manually, click the slider button next to Locked.
Notes:
- You can modify the image properties on multiple slides by following the steps mentioned in “Modify Objects“.
- To rotate the image, hold the handle of the image and move it in the direction you want.