Manage articles
T1 Studio provides different ways for adding articles and request articles to slides. You can either use the Insert menu to add the article number or paste the copied article numbers or use the catalog browsing pane on the right.
Add article to slide
To add an article image to the board, follow these steps:
- Select “Add Articles” from the Insert menu, the following window appears:
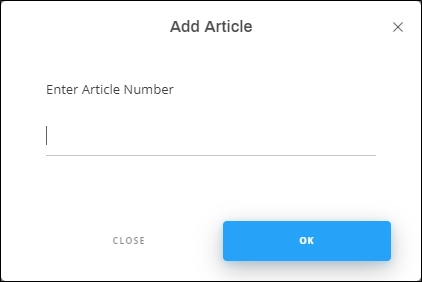
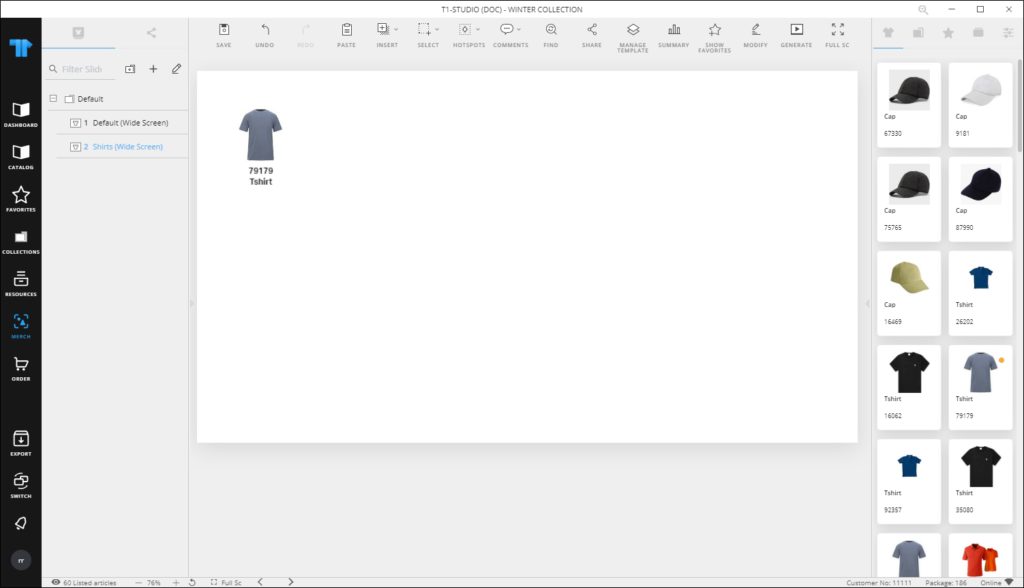
- Enter the article number then click Ok, the article image is added to the board as shown in the below example:
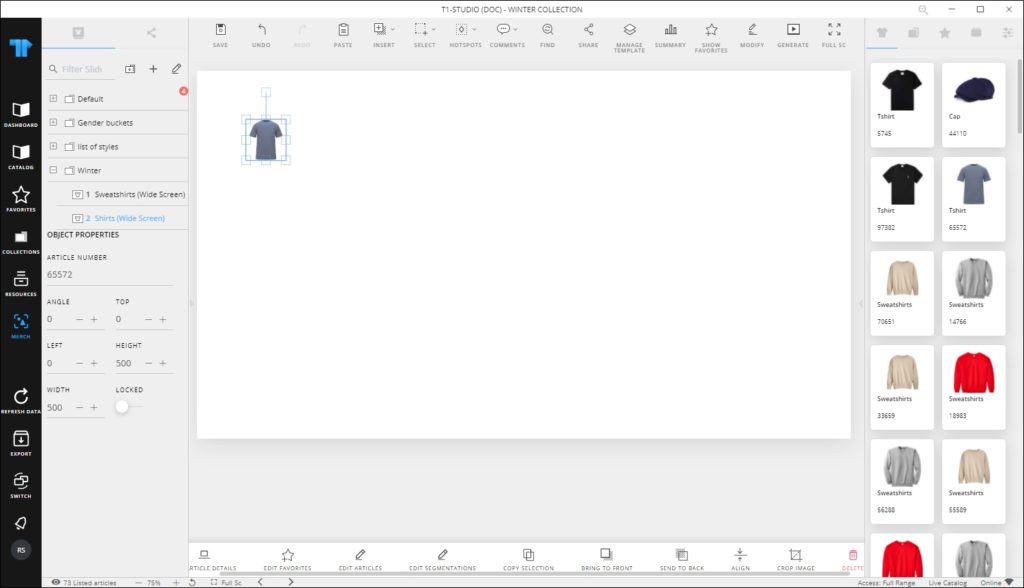
The article image is added to the slide. You can resize it, change its position, rotate it, and add the article details.
Paste articles to slide
You can paste the article numbers that you have copied from other modules such as Catalogs or Favorites to the board. To do so, make sure you have copied the article numbers by selecting the articles you want then clicking Copy.
Select the slide you want then select “Paste Articles” from the Insert menu, articles images are pasted to the board as shown in the below example:
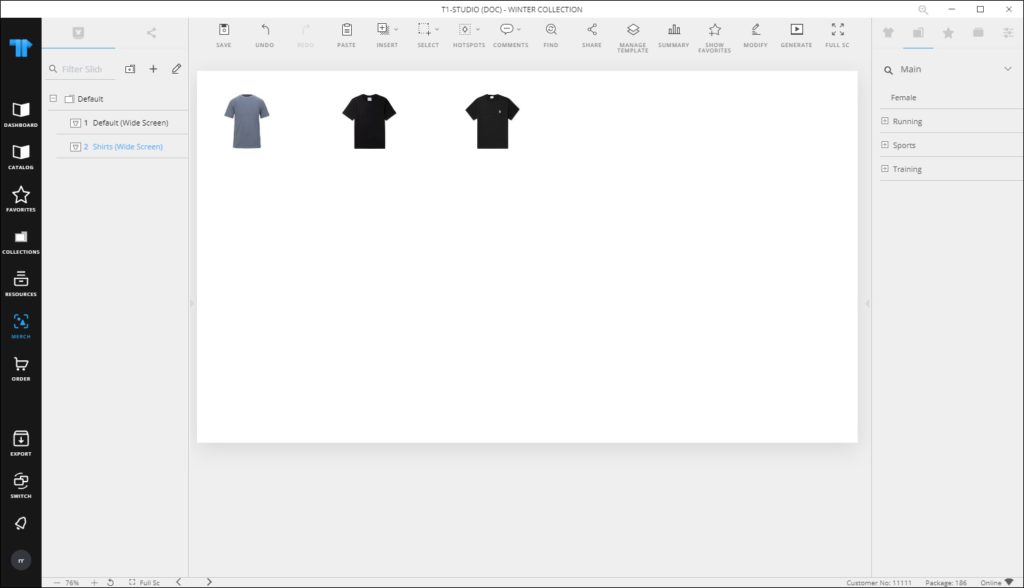
Images are pasted next to each other, you can click and drag them to change their position.
Add article using catalog browsing pane
You can view articles within the catalog browsing pane and add them to the selected slide. Different tabs are available, i.e. Articles, Tree, Favorites, Collections, and Filter. To add articles, follow these steps:
- View the articles you want, results are displayed as shown in the below example:
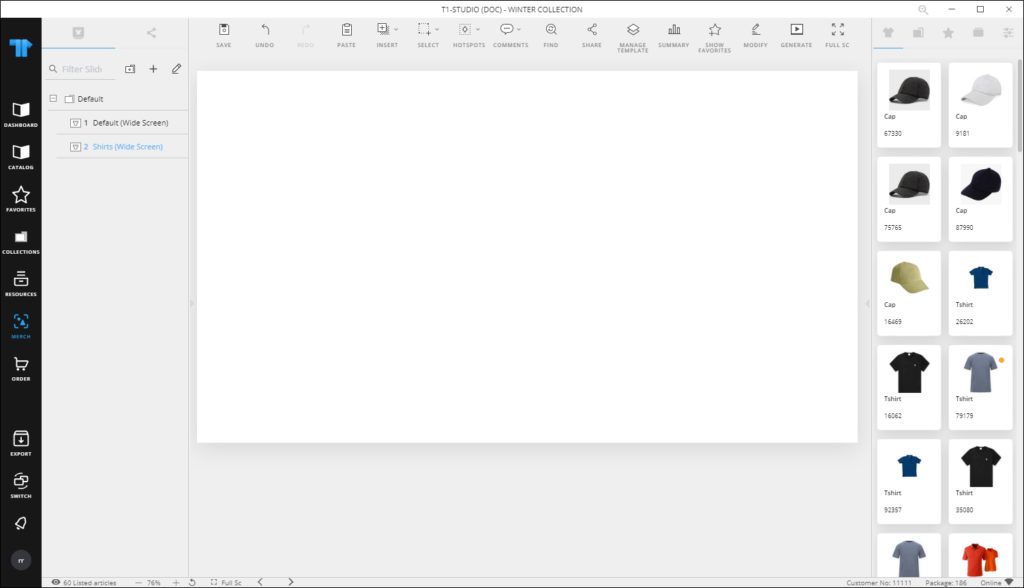
- Click the article you want to add to the slide, articles are added above each other and you can drag them to change their position.
Add article details
You can add article details such as the name and number for the article image added to the slide. To do so, select the article image then click Add Article Details, the following window appears:

Select the position and whether you want to group the article image and details by clicking the slider, if you want. Default article details can be configured by Trasix Support team. Below is an example:
You can add more details such as attribute values, model number, size scale, shipment start and end dates, and other details through the Object Properties below.
Notes:
- You can add details for multiple articles by pressing Shift then click the articles you want, then clicking Add Article Details.
- When you press the Shift key while hovering the mouse over the article image, its details are selected and vice versa.
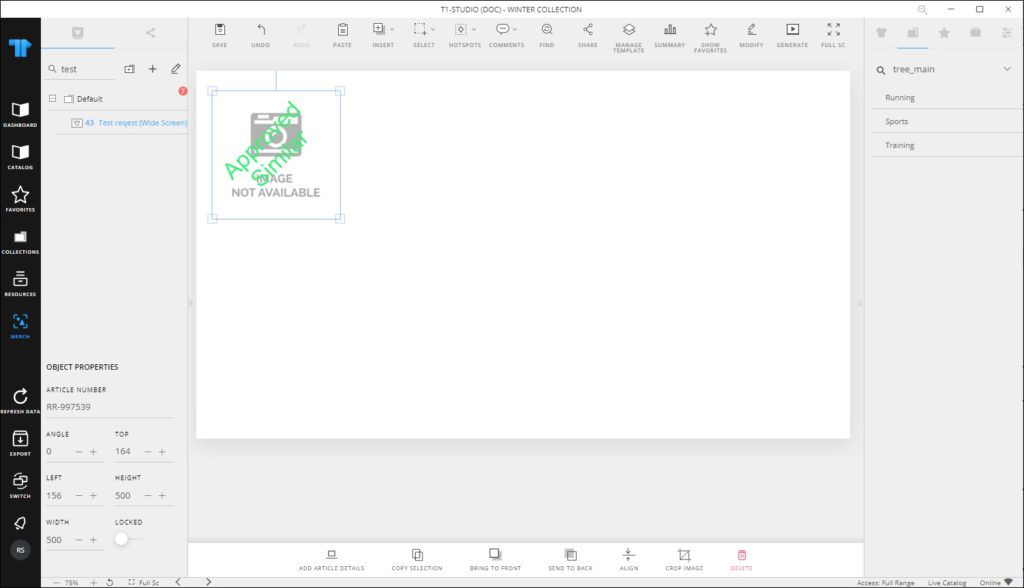
- When request articles are added to slides, a watermark appears to indicate the request article type as shown in the below example:
Add articles to favorites
You can add the selected article(s) on the slide to favorites by clicking Edit Favorites button, or right-clicking then selecting Edit Favorites from the context menu, the following window appears:
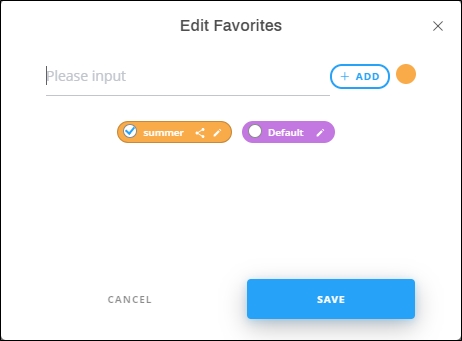
You can click the checkbox next to the tag you want or enter the tag name then press Enter. click Add to add another tag and assign the article(s) to it.
Object properties
You can manage the object properties for articles and articles details by clicking the object you want, its properties are displayed in the Object Properties section as shown below:

The above example displays the properties of the article image. Article number cannot be updated but the other details can be updated.
Notes:
- You can modify the article properties on multiple slides by following the steps mentioned in “Modify objects“.
- The attributes that are displayed for articles by default can be configured by the Trasix Support team.
- If you select to view any of the prices for the article, its price group will also be displayed.
To rotate the article image, hold the handle of the image and move it in the direction you want, or change the angle using the (–) and (+) signs. You can resize the image by dragging any of its corners.
You can also move the image by clicking and dragging it to the desired location or changing the values displayed in the “Top” and “Left” fields using the (–) and (+) signs. These values represent the distance of the object from the top left corner of the window.
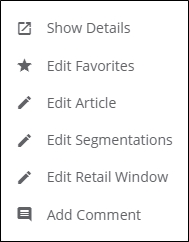
To view the article details, double click the article image or right-click then select Show Details, details are displayed.
Note:
- The Undo icon appears at the bottom left to reverse the last action performed on the slide. You can undo up to 10 actions. When you click Undo, the Redo icon appears to reverse the last action that has been undone.
You can select the attributes you want to display using the “Attributes” menu, click the attribute you want to add to the details box, and click it again to remove it. Article attributes of type “Calculated” are calculated as the article is added.
You can rotate the box and change its location as mentioned above for the article image.
You can also change the width and height for the shape by changing the values of the respective fields.
To change the fill color and background color, click the respective button, the color picker appears as shown below:
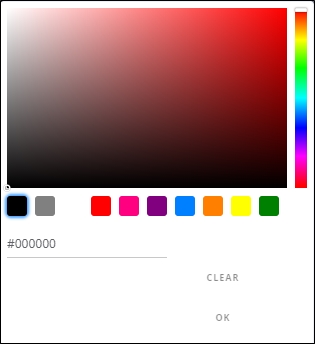
Select the color you want then click Ok.
To change the font type, font style, weight and alignment, click the respective dropdown menu and select the option you prefer.
You can change the font size using the (–) and (+) signs, and specify the text location in respect to the article image using the Align Text menu.
To lock the object and prevent changing its location manually, click the slider button next to Locked.
You can also select whether you want to show or hide the labels of attributes by clicking the slider button next to “Show Labels”.
Notes:
- Attribute labels can be configured by Trasix Support team to specify which attributes will have labels when the “Show labels” slider is on.
- You can double click any of the articles to view its details window or right-click the article then select Show Details from the context menu. A number of options are available in the context menu and the bottom panel, to help you peform actions such as updating the article segmentations and attributes. The menu appears as shown in tbe below example:
- Fonts that appear in the Font dropdown list can be configured to include custom fonts. However, these fonts should be installed on your machine.
- If you click Show Favorites button from the toolbar, the favorite tags are displayed for articles on the slide.
- When viewing the board, if any of the articles added to a slide is no longer available in T1, its image is marked with a red X as shown in the below example and a message appears on the window:
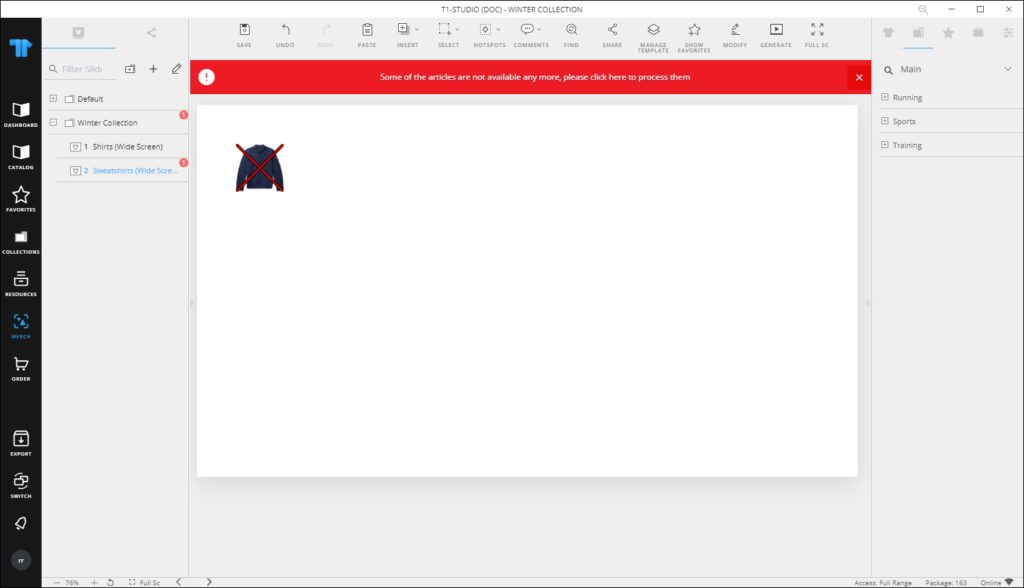
You can either remove the article or replace it with another one, if there is a suggested article assigned in T1. Click the message and select whether you want to swap the article with its replacement, or remove it from the board as discussed in “Favorites“.