Generate slides – Visual line builder
You can create slides containing the articles you want using the Visual line builder template. To do so, click Generate, the following window appears:
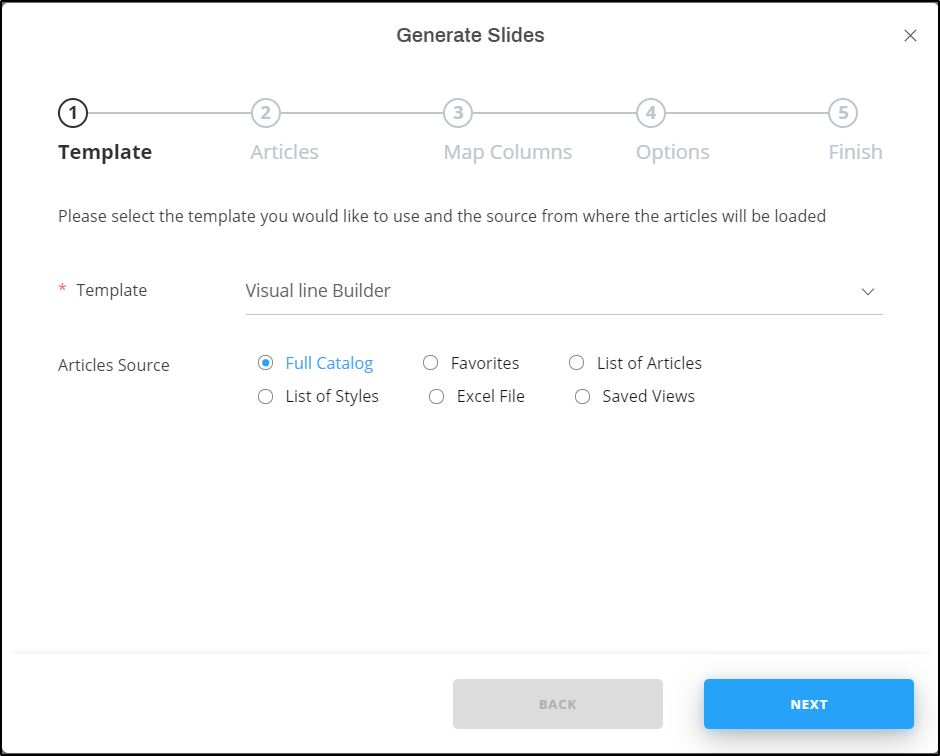
Select “Visual line Builder” from the Template dropdown list. You can either include all catalog articles, your favorite articles, add articles as a list or using an Excel file, or select the articles listed by any of your saved views.
Full catalog
To generate slides for all the articles in the catalog, follow these steps:
- Select the radio button next to (Full Catalog), then click Next, the following window appears:
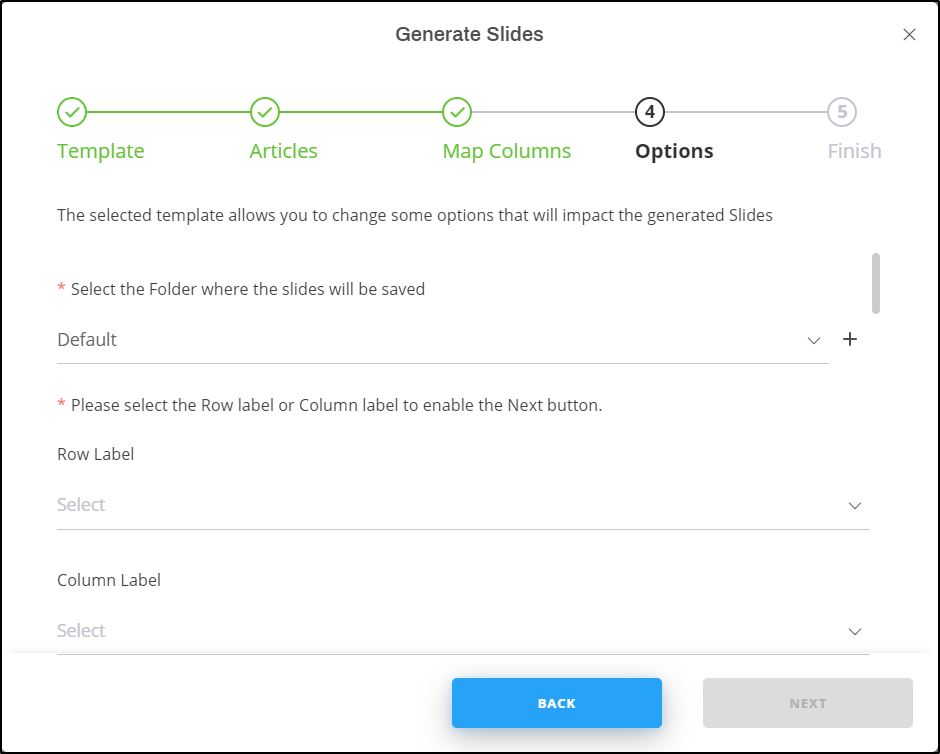
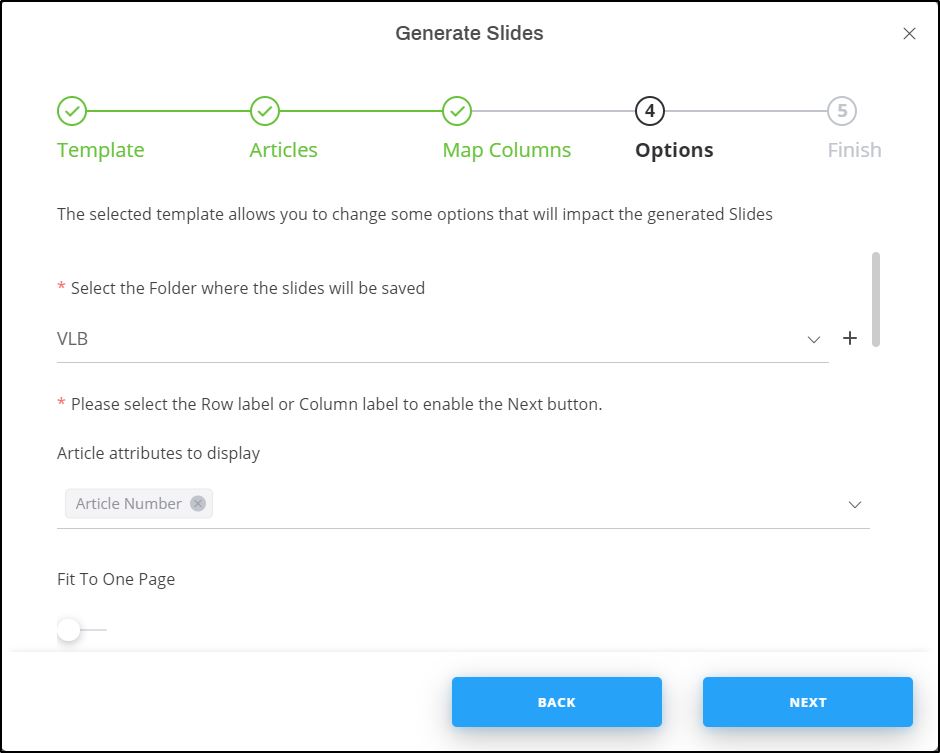
If options are configured for the selected catalog, you can select an option and the attribute fields are automatically filled. Otherwise, you can fill the fields as mentioned in the below steps:
- Select the folder to which you want to add the slides, or click + and add a new folder to which the generated slides are to be added,
- Select the row label attributes, and the column label attributes, you can select up to 3,
- Select the number of columns you want in each slide, by default it is “1”, and you can add up to “6” columns,
- Select the article attributes which you want to display, the list of attributes must be configured for the catalog by Trasix Support team,
- Select whether you want to fit the articles into one page, the maximum number of rows are set to 4 and these fields are disabled. Also, image size and font size are fixed if this slider is enabled,
- Select the size in which you want to add the images,
- Select the image type that you want to add to the slide,
- Select the slide size, the selected size appears next to the slide name,
- Select the attribute based on which articles are grouped, if you want,
- Select whether you want the title on every slide by clicking the slider button,
- Enter the slide title, if you want, if the slider is on but no title is entered, there will be an empty title box to enable users to add it manually on slides,
- Select the attribute(s) based on which attributes are sorted – ascending or descending, then select the order in which you want the articles to be sorted,
- Change the font size for the horizontal and vertical axis labels, if you want by clicking (+) and (-),
- Click the slider button if you want to group articles by model,
- Click the slider button if you want to show the SKU count on slides,
- Click Next, the following window appears:

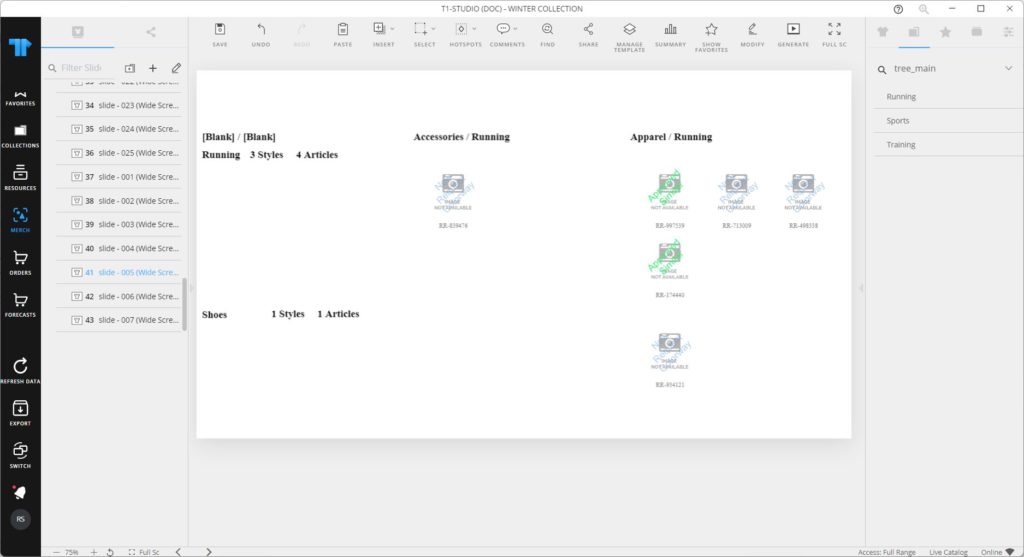
- Click Finish, slides are created as shown in the below example:
Favorites
To generate slides for your favorite articles, follow these steps:
- Select the radio button next to (Favorites), then click Next, the following window appears:
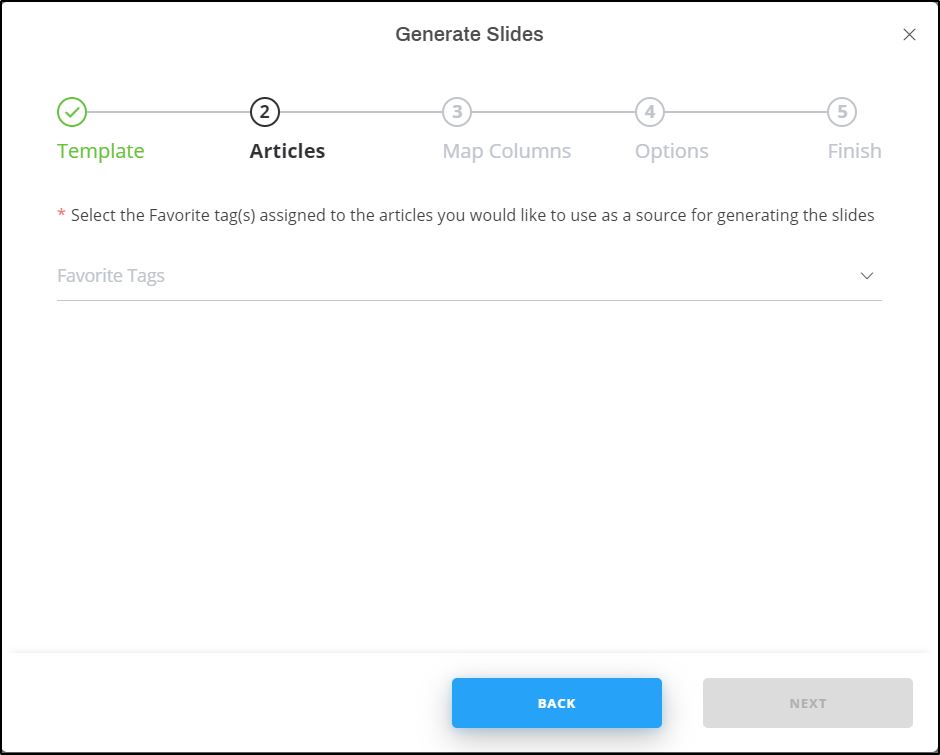
- Select the favorite tag you want then repeat the steps mentioned above for generating slides for Full Catalog,
- Click Next then Finish, slides with your favorite articles are generated.
List of articles
To generate slides using a list of articles, follow these steps:
- Select the radio button next to (List of Articles), then click Next, the following window appears:
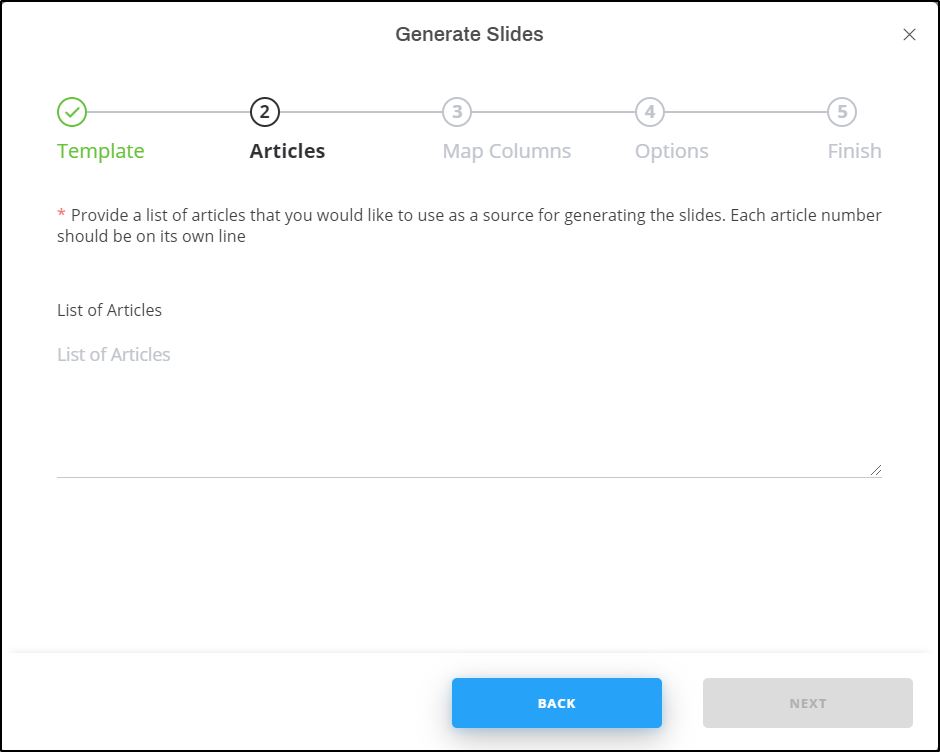
- Enter the article numbers, then follow the steps mentioned above for generating slides for Full Catalog,
- Click Next then Finish, slides with the specified articles are created.
List of styles
To generate slides using a list of styles, follow these steps:
- Select the radio button next to (List of Styles), then click Next, the following window appears:

- Enter the style numbers, then follow the steps mentioned above for generating slides for Full Catalog,
- Click Next then Finish, slides with the specified articles are created.
Excel file
To generate slides using articles from an Excel sheet, follow these steps:
- Select the radio button next to (Excel File) then click Next, the following window appears:

- Click Select File and browse for the file which contains the articles,
- Click Next, then Finish, slides with the specified articles are created.
Saved views
To generate slides using articles from your saved views, follow these steps:
- Select the radio button next to (Saved Views) then click Next, the following window appears:

- Select the view you want, you can select more than one, unique articles for the selected views are exported. Click Next, the Options window appears as shown below:
Some options are already set by the selected view(s) and you can update the other options such as the article attributes, slide and image sizes, etc.
Notes:
- By default, labels are shown for slides created using this template. You can click the slider button next to “Show Labels” to hide them.
- If any of the articles has a value for the AR indicator, it will be indicated by a rounded rectangle.
- If you used any of the saved views for viewing articles then clicked Generate using the Visual Line Builder template, some of the options are automatically set without the need to enter them manually as mentioned in the above section.