Create forecast
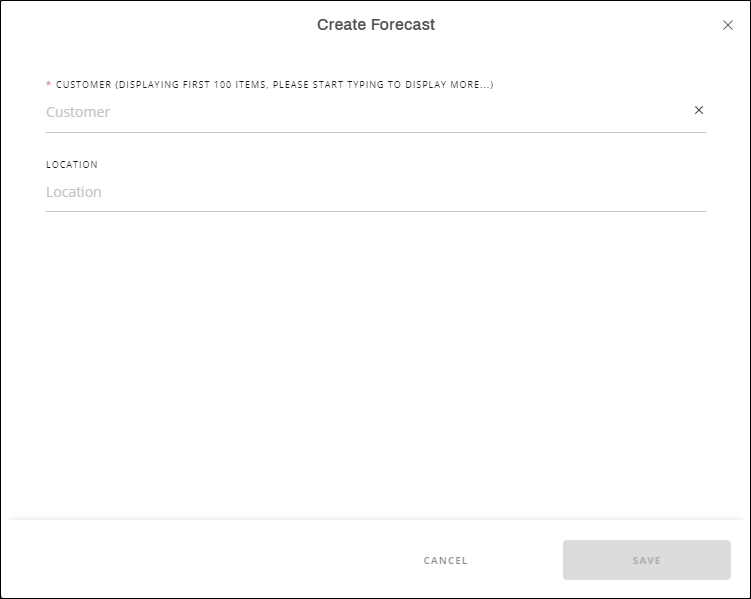
To create a forecast, click Create forecast button, the following window appears:

Select the location(s) you want, then click Save.
If the logged in user is “Full range”, the window appears as shown below:
The forecast is added and you need to add the articles and their quantities, its status is “Draft” as shown in the below example:
The following section discusses how to add articles and quantities to the forecast.