Article details
To view article details, click the article thumbnail, its details are displayed as shown below:
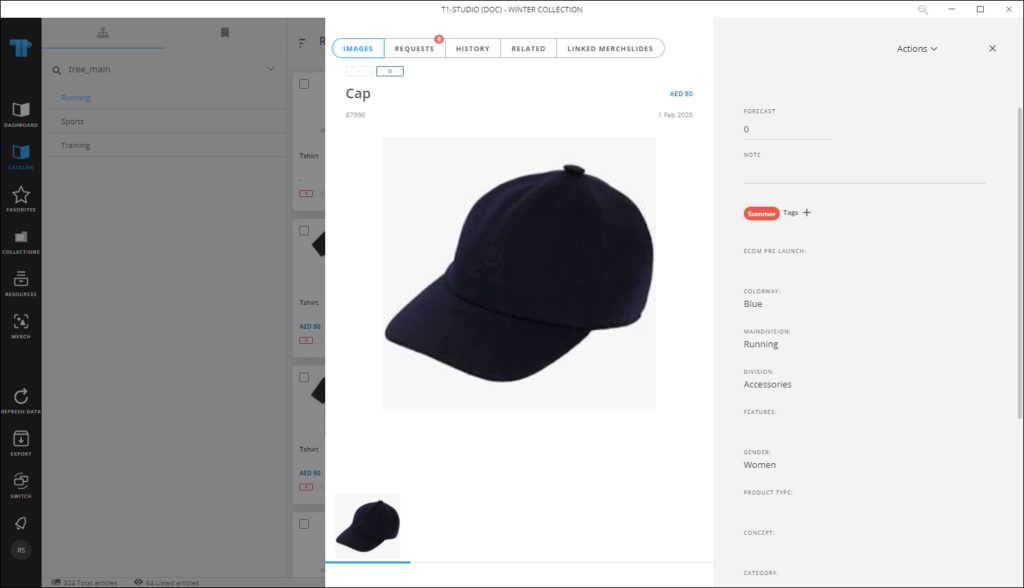
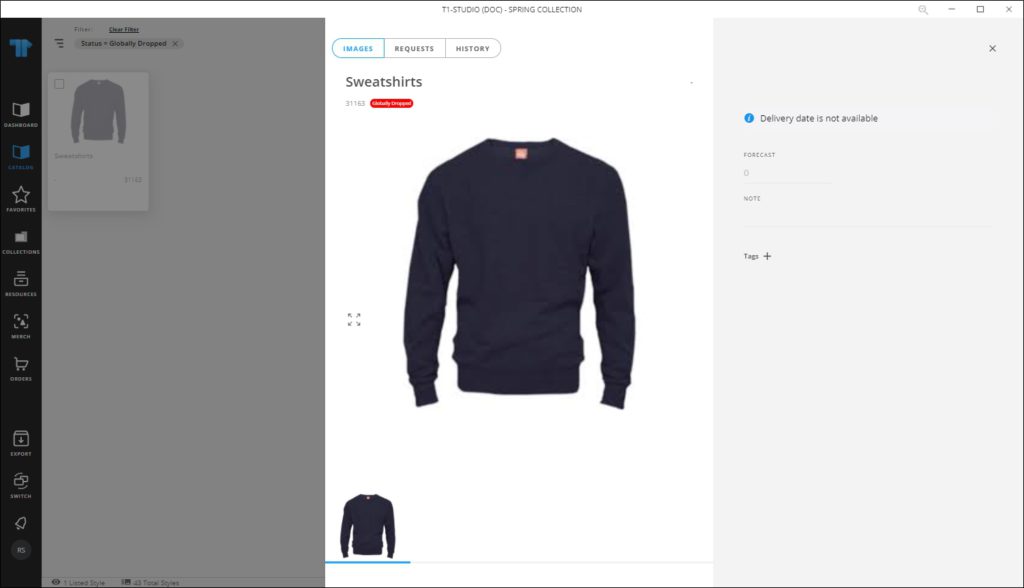
The article details are displayed such as article attributes and their values, if any of the attributes is of type “Calculated”, values are calculated as the article is loaded. The article image displayed by default is the same as the one on the thumbnail. You can enter the forecast value and notes in the specified fields. The window also displays the delivery date or shipment start and end dates based on the catalog configuration, and prices, etc.
The available colors are displayed and you can click the color you want to load its details. You can also copy any of the displayed information by selecting it then using the keyboard shortcut (Ctrl + C). Favorite tags assigned to the article are displayed in different colors. Requests can also be added to the article, if requests are activated for the catalog. For more information, refer to “Article Request“.
Articles can have different images (e.g. downloadable, snapshots, and 360 view) and you can view them by clicking the designated icon.
You can view the image in full screen by clicking ![]() . You can zoom in and out by clicking +, and –. To exit full screen, press Esc.
. You can zoom in and out by clicking +, and –. To exit full screen, press Esc.
You can view the slides which are linked to the selected article by going to the Linked merch slides tab as shown in the below example:

You can click the folder to view the slide and when the slide is clicked, you are redirected to the Merch board module and the slide is viewed.
Notes:
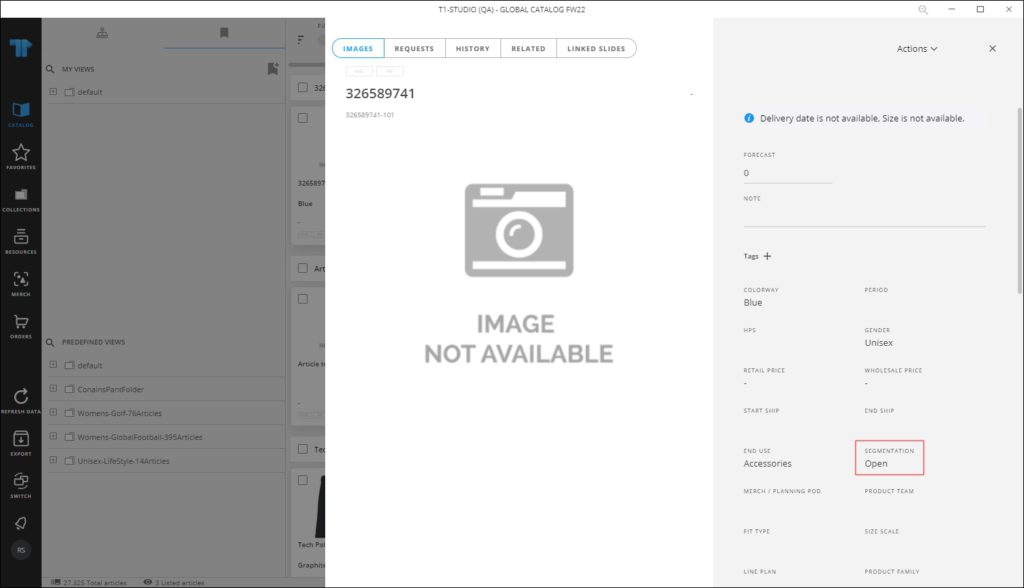
- If all segmentations are assigned to the article, the segmentation field’s value is “Open” as shown in the below example:
- If the catalog is a Live master catalog, options to edit the article and article segmentations will be available in the Options menu as shown in the below example:
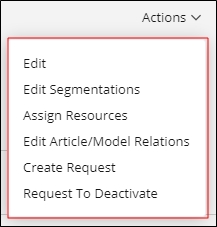
For more information on editing articles, refer to “Edit article“. You can also update the article segmentations as mentioned in “Edit Segmentations“. You can assign resources to the article as mentioned in “Assign resources“. Relations to catalog articles can be managed as mentioned in “Edit article/model relations“.
- For the 360 View, it displays the 3D rotatable image of the article, if available, and the catalog should be configured to support 3D images. Also 3D images of types “.gltf” and “.glb” are supported and another tab is added to article details for these images if the catalog is configured.
- Changes done on the article number and status are displayed in the History tab as shown in the below example:
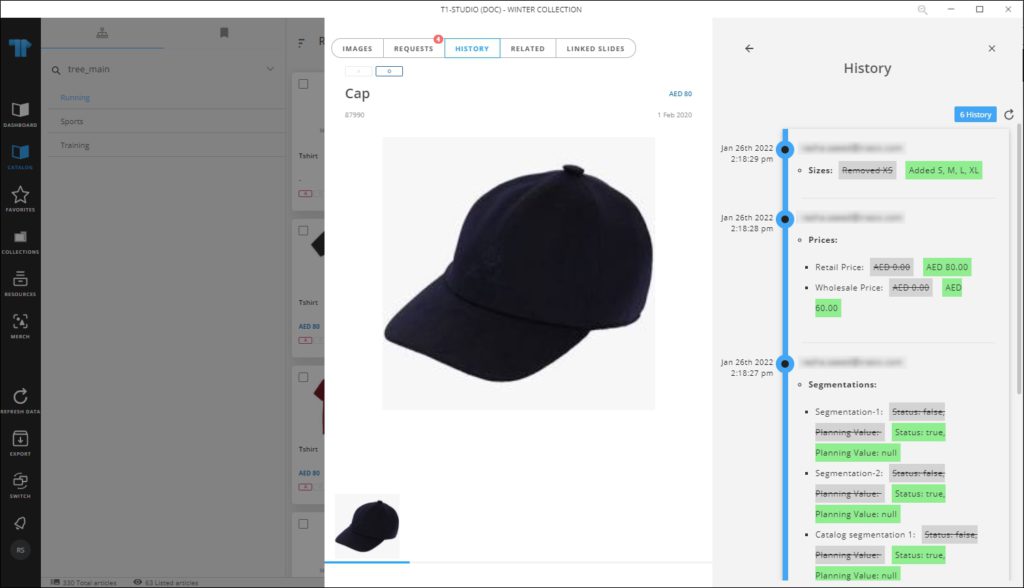
Changes done to the selected article are displayed as a timeline categorized to display changes done to sizes, prices, segmentations, and article attribute values, mentioning the date, time, and the user who performed the change. The first record shows the user who created the article and the date and time on which the article was created. You can click the Refresh button to refresh the list. This tab can only be accessed by users who have the required privilege.
- For child catalogs, article status can have the following values:
- If the article is inactive in parent catalog as well as the current catalog, the status is “Globally dropped”
- If the article is active in parent catalog but inactive in the current catalog, the status is “Not Assorted”
- If the article is active in parent catalog and active in the current, the status is “Active”.
The status appears as shown in the below example:
- For articles with placeholder images, you can update the article color. Select “Edit article color” from the Actions menu, the following window appears:
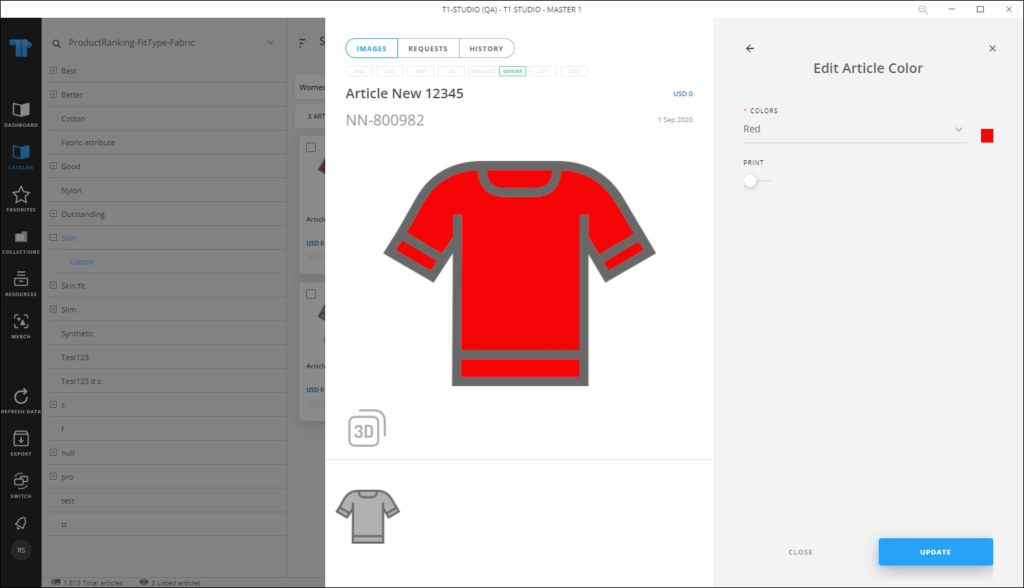
Colors defined for the selected catalog are listed and you can select any of them then select whether you want to add the watermark to the article image or no.
- If sizes or delivery dates are not assigned to the article, or delivery dates are not available, a tooltip appear on the article details window is displayed.
- If stocks are configured for the selected catalog and values are defined for any of the article sizes, those values are displayed as shown in the below example:
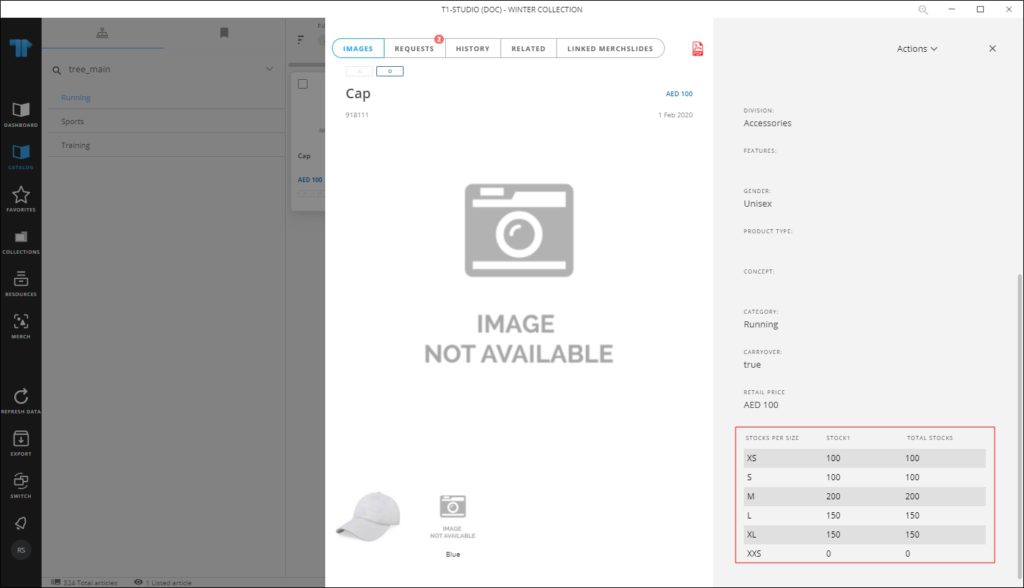
Stock value for each size is displayed. Also, in Orders module, the order quantity is validated against the stock value once the order is submitted, and if the quantity exceeds the stock, a message appears informing you so.