Assign resources
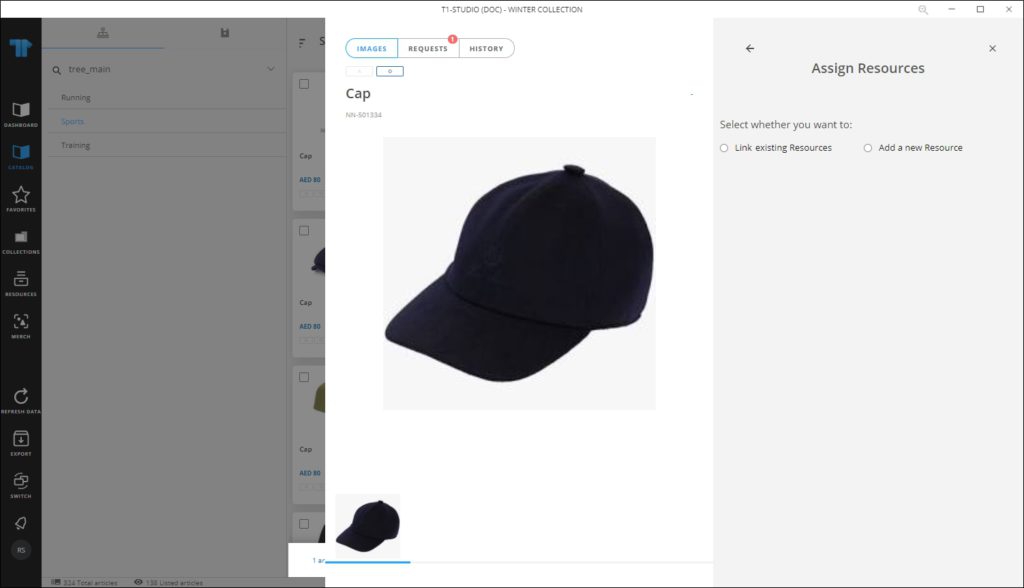
You can assign existing resources to articles or upload new resource files. This action can be performed for a single article or multiple ones. In article details, select Assign resources from the Actions menu, the following window appears:
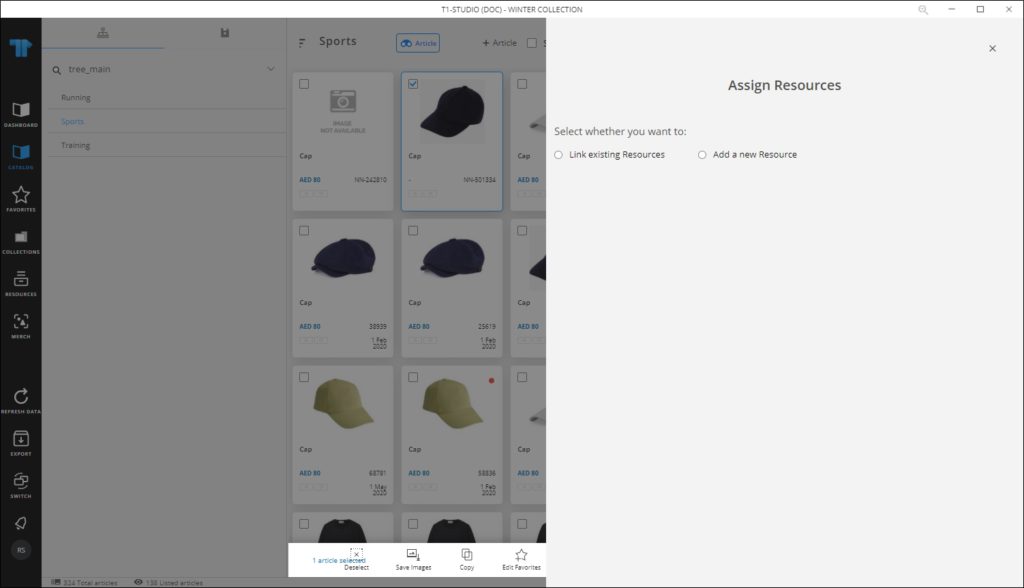
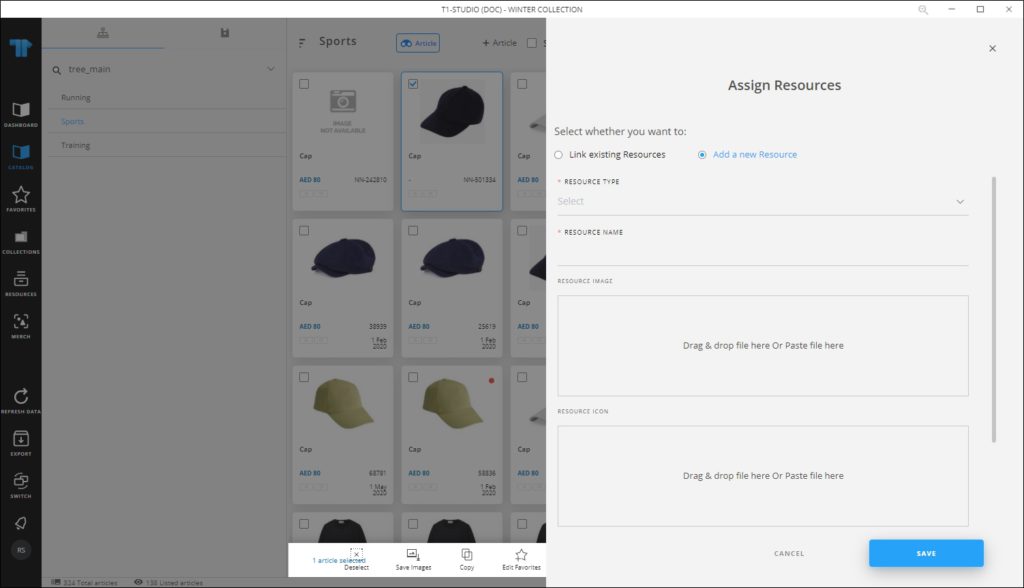
You can also click the checkbox next to the article(s) you want, then click Assign resources, the window appears as shown below:
You can follow the same steps for single or multiple articles as discussed below.
Link existing resources
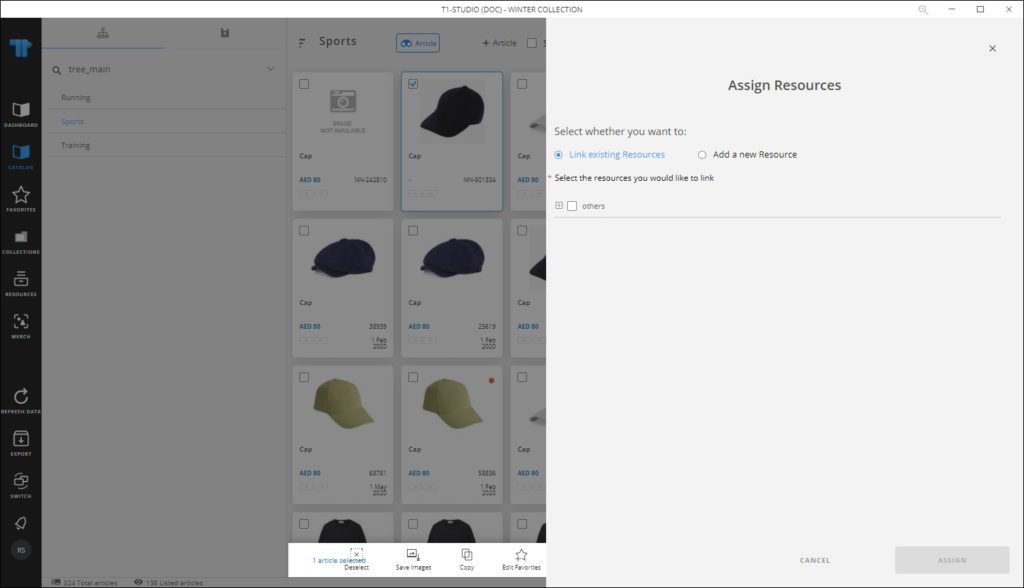
To link existing resources, follow these steps:
- Click the radio button next to the respective option, the available resources are displayed in a tree structure as shown in the below example:
- Expand the tree then select the resource you want by clicking the checkbox next to it as shown in the below example:
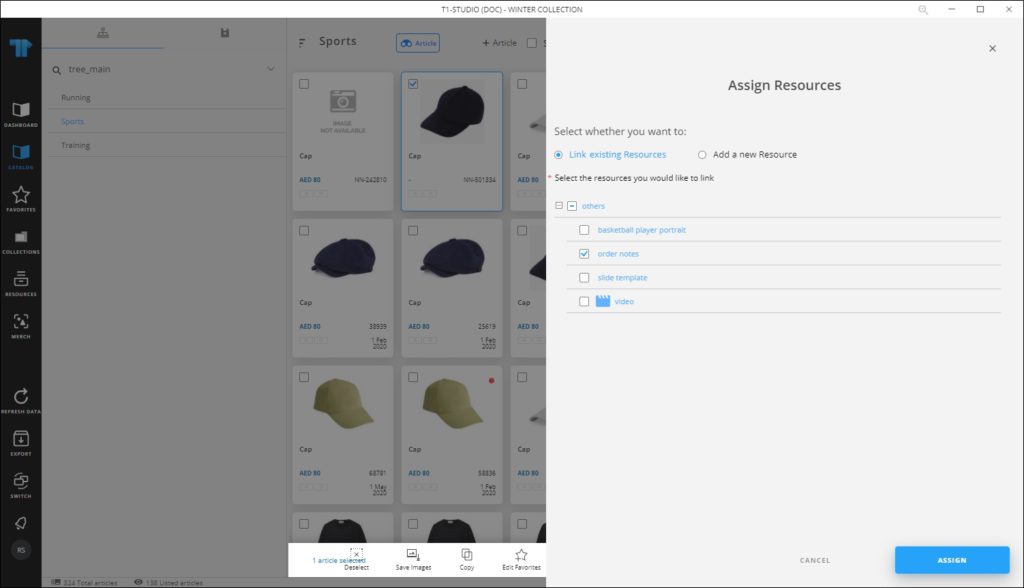
- Click Assign, resources are assigned.
Add a new resource
To add a new resource, follow these steps:
- Click the radio button next to the respective option, fields appear as shown in the following window:
- Select the resource type, the allowed file formats are listed on the same window,
- Enter the resource name,
- Drag the resource file you want and drop it in the specified area, or click and browse for the file you want,
- Drag the icon file, if you want, and drop it in the specified area, or click and browse for the file you want,
- Enter the resource category, if you want,
- Enter the sort order, if you want,
- Select whether you want the resource to be cascaded to child catalogs or not by clicking the slider button,
- Enter the description, if you want,
- Click Save to add the resource. The resource is added to the selected article(s).