Export forecast
To export forecasts, follow these steps:
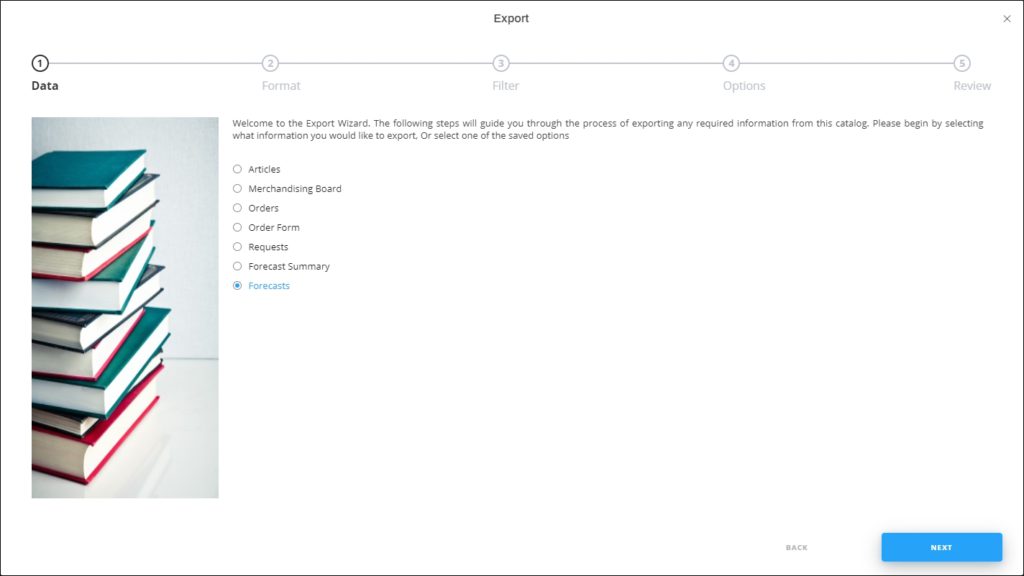
- Click Export, the following window appears:
If options are saved, a menu appears enabling you to select the export option you want as shown below:
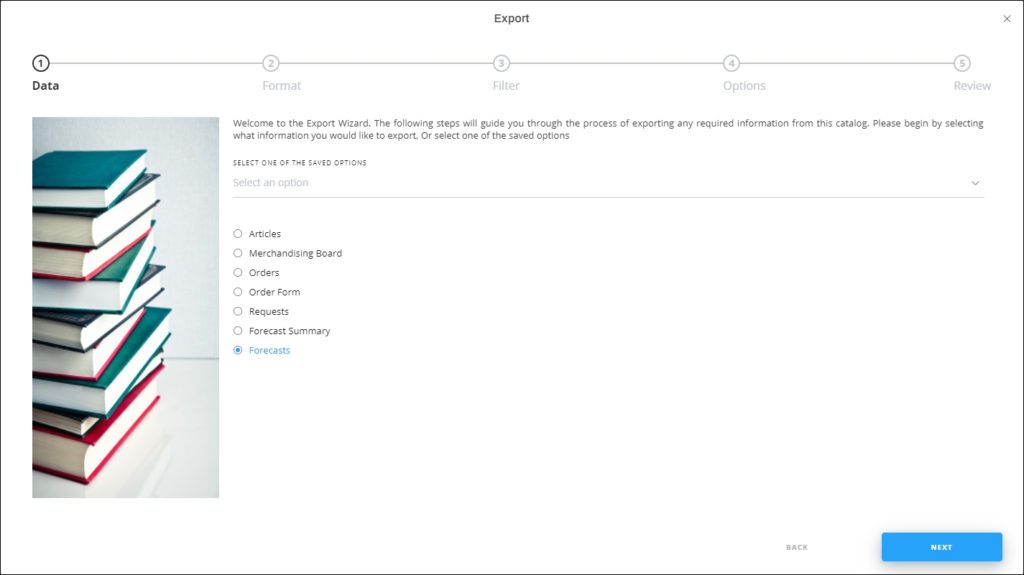
Select the option you want, the Format window is skipped. You can delete any of the saved options by hovering the mouse over it then clicking the Delete icon.
- Select “Forecasts”, if no option is selected, then click Next, the following window appears:
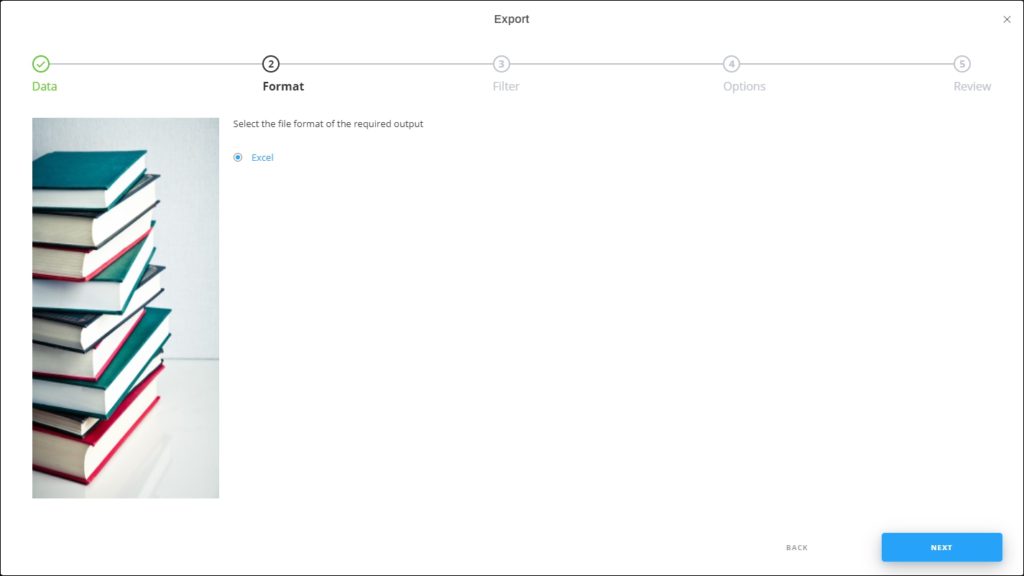
- Click Next, the Filter window appears:
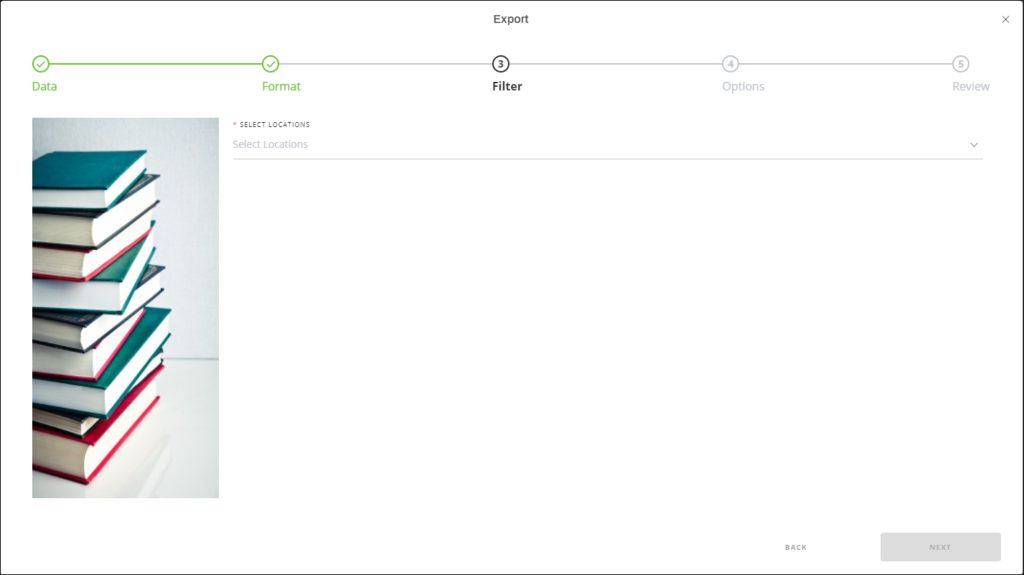
If the selected customer is “Full Range”, the window appears as shown below to enable you to select the customer you want:

Select the customer and location, then click Next,
- Select the location(s) then click Next, the Options window appears:
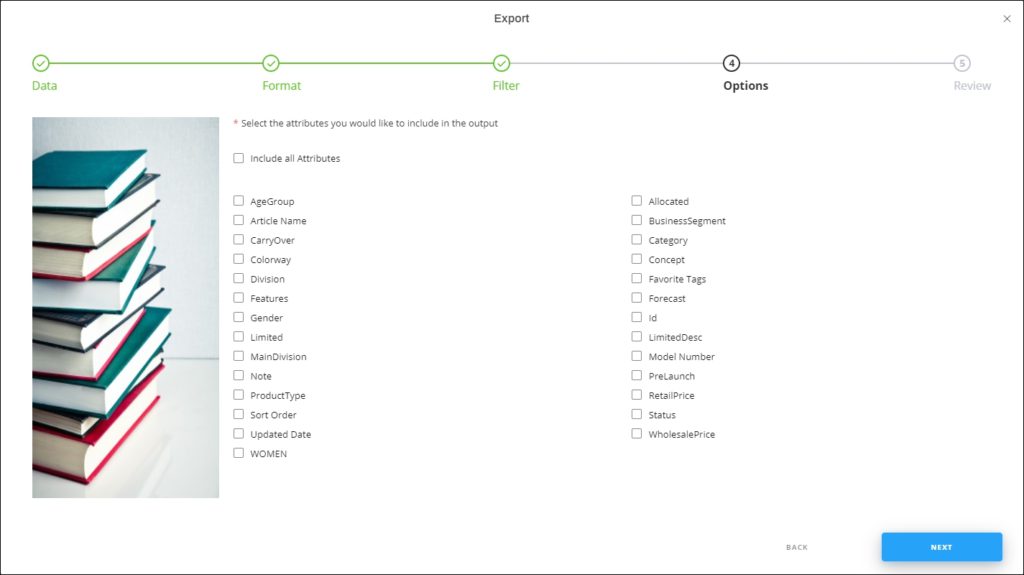
- Select the attributes you want to include in the Excel file then click Next, the Review window appears:
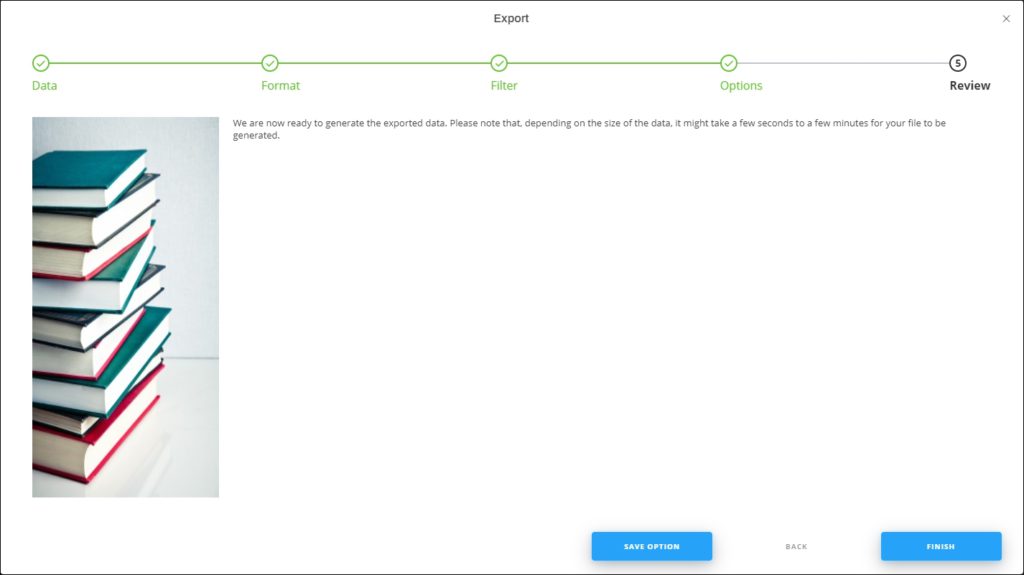
- Click Finish, a window appears to enable you to enter the file name and the location where you want to store it.
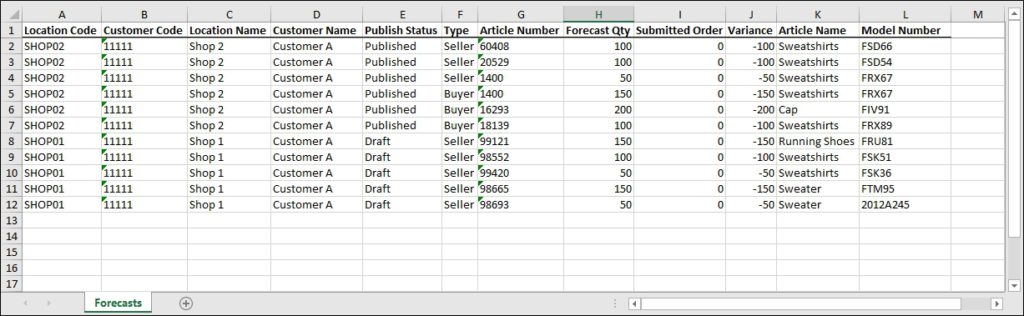
The exported forecast file appears as follows: